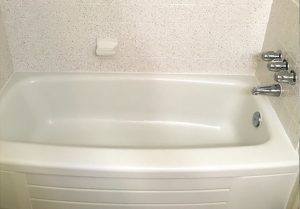
Caulking keeps moisture where it’s supposed to be. This is particularly important around a sink or bathtub, where water is constantly being splashed around. If you’re planning to re-caulk you bathtub, there are some simple steps you can take to improve your results. At Maryland Tub and Tile, we re-grout and re-caulk on every bathtub refinishing project once we’re done, leaving your bathroom in tip-tip shape. Check out these bathtub caulking tips from our experts.
Do Remove the Old Caulk before Adding New Caulk
This is a key step that will make a big difference in the way your caulking looks and functions. Removing the old caulk can be tedious, but it is the only way to ensure a clean grip for the new caulk. Take the time to pull out the old caulking so you can achieve a crisp line of new caulk.
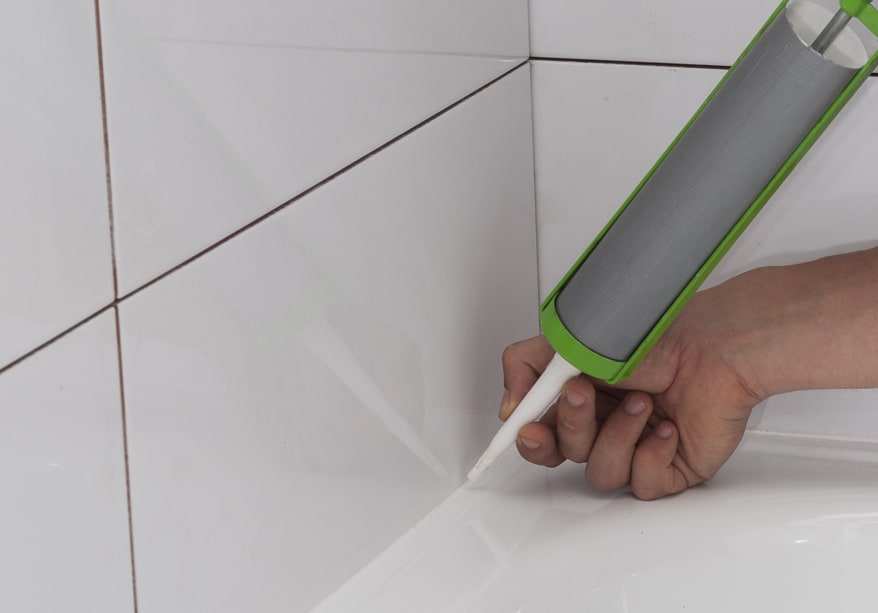
Don’t Cut the Caulking Tip Too Thick
You can change the thickness of the caulk line based on how you cut the tip of the caulk. We recommend starting small and working your way up. Cut the tip at an angle. Most caulk products have a diagonal line indicating different cut marks. Start small, do a test application, and see if you need to increase the size a bit. You want the caulking to come out smoothly, but you also want it to be easy to control.
Do Fill the Tub with Water before Caulking
Filling the bathtub before you caulk may seem odd, but think about it for a moment. When you take a bath, the weight of your body and the water causes the tub to sink a bit. This stretches the bathtub caulking, which could cause it to crack over time. If you fill the tub before you caulk, the rim is already in that “stretched” position. This should reduce the risk of cracking with time.
Don’t Rush This Simple Home Improvement Project
Caulking is a simple project, but that doesn’t mean you should speed through it. You don’t have to do it often. You might as well do it right. Move at a steady pace along the rim of the tub, creating a smooth line of caulking around the edge. Then run your finger along the top to remove excess caulk and create a long-lasting seal.
Do Use the Right Caulk for Each Application
Bathtub caulk is different than window and door caulk. It’s important to use the right type of caulking for each project. This impacts how the caulk bonds to the material and how it looks when it is dry. If you’re caulking around your bathtub, make sure the product you buy is waterproof and designed to work in a bathroom. If your bathtub is not white, you may want to use clear caulk instead of white caulk.
Don’t Forget to Smooth the Caulk after Applying It
If you want your caulking to look professional, you need to run your finger over it. You could also use a special corner tool, which you can usually find near the caulk supplies. Not only will this get rid of the excess caulk, but it also gently presses the caulking into the crack it’s filling. This creates a more reliable seal that will keep water where it’s supposed to be.
Maryland Tub and Tile offers affordable, long-lasting tile refinishing services. We’d be happy to come by to provide a quote for you. Contact Maryland Tub and Tile at 877-717-8827 to schedule your consultation.