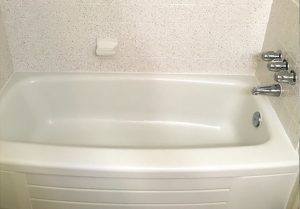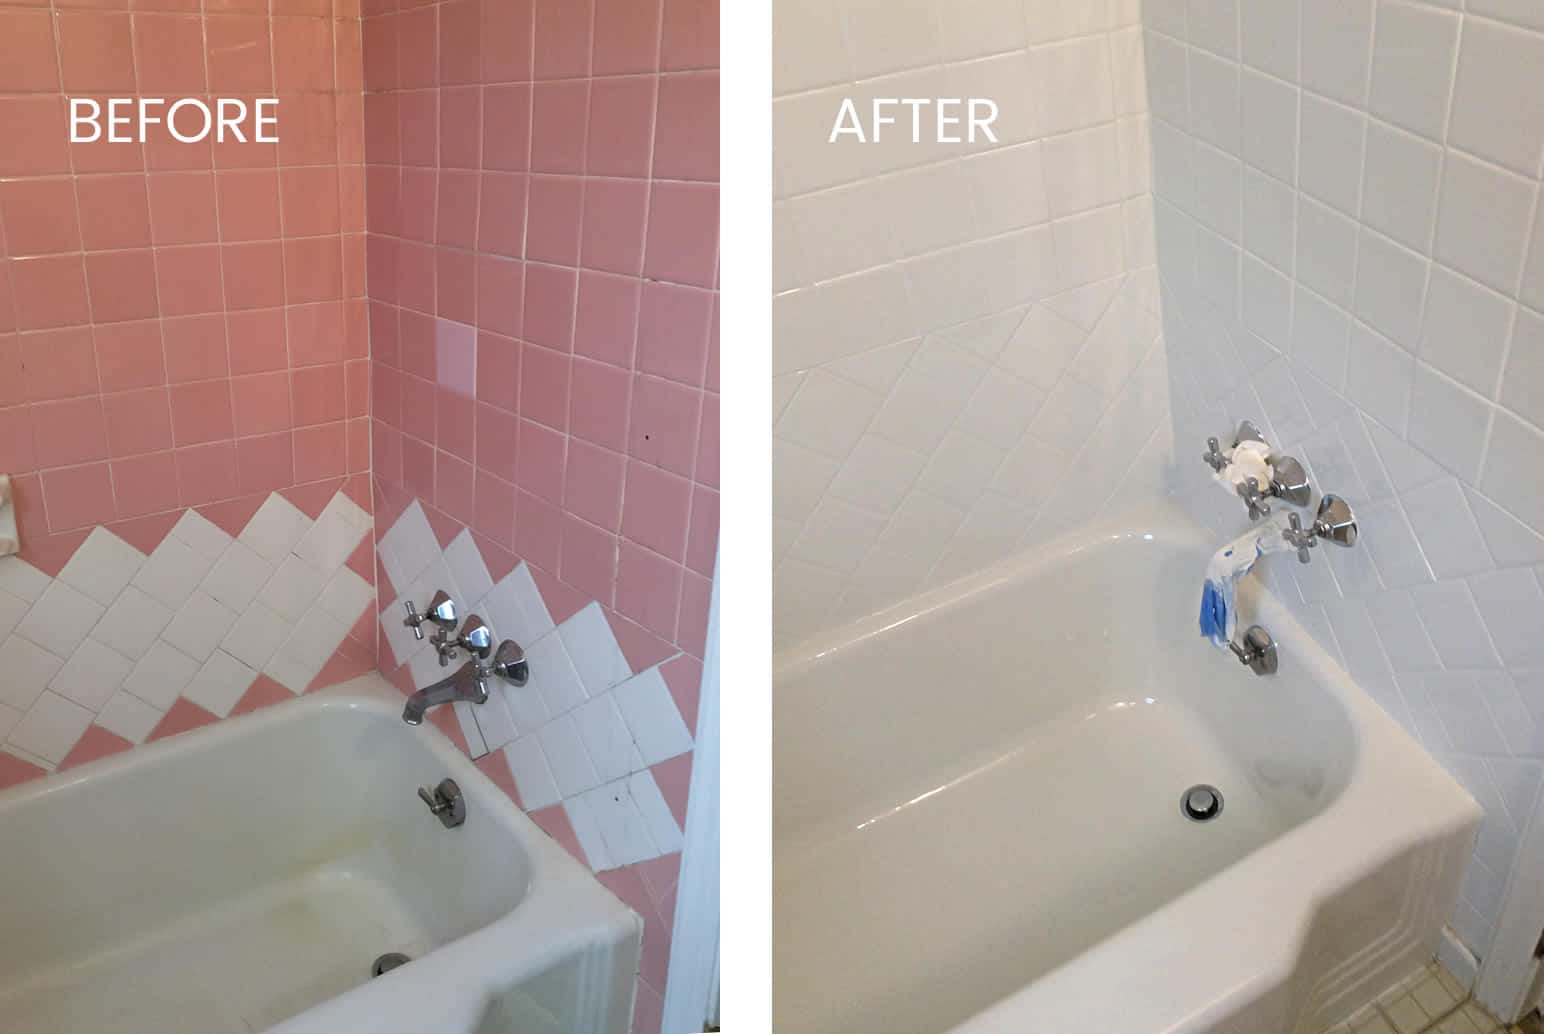
Tile refinishing is a fast and easy way to renovate ceramic tiles without completely replacing them. With this process, you can make the most of the tile you already have and still get a brand new look for your bathroom. The process is pretty straightforward, and the stunning results are undeniable.
Ceramic tile refinishing – from start to finish
Step 1 – The Consultation
Ceramic tile refinishing starts with a consultation with a tile and countertop refinishing company. While you can buy tile refinishing kits to do it yourself, the results are not comparable. The chemicals in these kits do not last nearly as long as professional grade chemicals (primers and top coats) because they’re just not as strong. More importantly, the kits are expensive (when considering your time) versus professional refinishing, so you won’t save a lot of money by trying to do this yourself.
Schedule a consultation with a tile refinishing company like Maryland Tub and Tile, and we will give you a free quote for your tile refinishing. We can schedule a time to come out that is most convenient for you, and we can complete the project within a matter of hours.
Step 2 – Preparing the Room
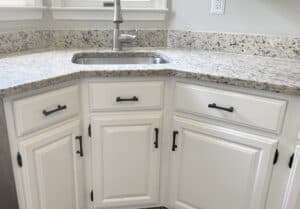
Whether it’s a bathroom, kitchen, laundry room, or any other space in your house, it must be prepared for tile refinishing. We tape off the areas that won’t be refinished and remove dirt and debris from the surfaces that will be refinished. We setup our ventilation system to direct the airborne odors out of the house. These will dissipate quickly, so you won’t have to worry about them once we leave.
Step 3 – Repairing Damaged Tile
One of the biggest benefits of ceramic tile refinishing is the fact that we can repair damaged tile before we resurface it. If you have small chips or cracks in your tile, we can fill those in and smooth them over. If you have completely missing tiles, we can replace those with any tile of the same size. We will also fill in any grout that may have chipped away or shrunk over the years. The goal is to make your tile look like it was freshly laid even if it has been there for decades. When the top coat goes on, the tile will look like it’s in mint condition.
Step 4 – Etching the Tile
Etching ceramic tile is similar to sanding wood before you paint or stain it. This strips away some of the old finish on the tile and it allows the primers and glazes to adhere better to the surface. This is one of the most crucial steps of the process because it determines how long your tile refinishing lasts. If the surface is not prepared correctly, the top coat will chip off in no time.
That’s yet another reason why it’s important to stay clear of DIY kits because they do not include the proper etching tools. Your new surface will be full of scratch marks before you know it. Professional tile refinishing is almost as durable as the tile’s original surface, giving you years of enjoyment out of a small investment.
Step 5 – Priming
Once again, think about tile refinishing like you would painting a piece of wood. After you get done sanding (or etching) it, you need to prime it so the paint sticks well to the surface. With tile refinishing, there are special primers that create an ideal surface for the top coats to attach to. These primers can be brushed on, but the brush strokes will show through on the top coat. We use a special airbrush machine to create a smooth, even surface that looks as close to the original coating as possible.
Step 6 – Top Coat
The top coat is the final step in ceramic tile refinishing. This is a shiny outer layer that looks and feels like ceramic glaze. A lot of people use the term tile reglazing to refer to tile refinishing, but that’s actually a misnomer. The only way to truly reglaze tile is to re-fire it in a kiln, which would involve removing the tile from your home and taking it somewhere to be resurfaced. The whole point of tile refinishing is to avoid costly and time-consuming demolition, so reglazing would not be a good option.
The top coat will take at least a day to cure completely, but you will be able to see the finished product in just a few hours. Just make sure to avoid splashing water on the surface to allow the coats to set and dry. Your tile refinishers will provide you with aftercare instructions so you can preserve your new tile surface. Follow those instructions, and you will have a gorgeous remodeled room to show off in the future.
The quality and application process for the top coat is another thing that sets professional services apart from the DIY solution.